Custom Model Projects: Plan, Kitbash, Detail, Finish
Build It Your Way and Watch Ideas Come Alive: A Creative Guide for Custom Model Projects
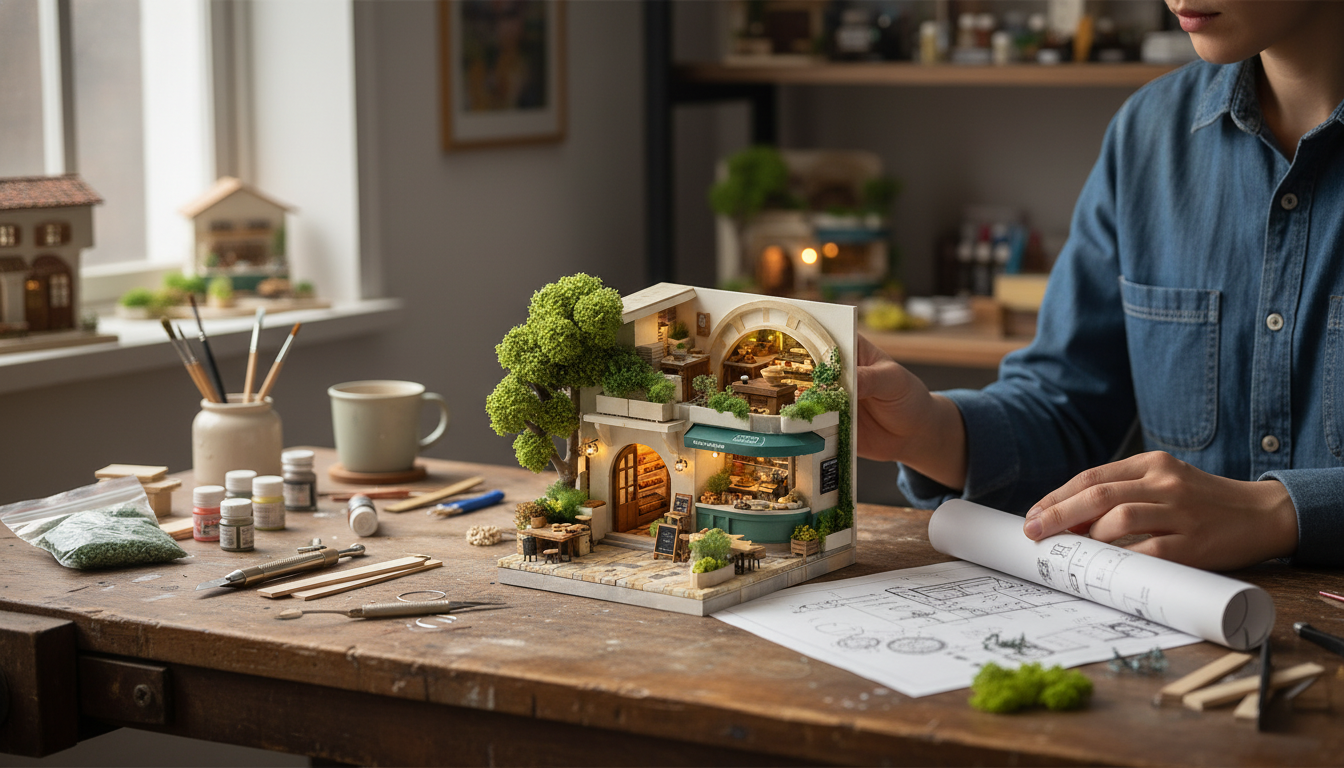
Custom model building turns sketches and loose ideas into something you can hold, test, refine, and display. The most satisfying projects balance creativity with repeatable methods—planning, choosing materials, building cleanly, and finishing with confidence. Below is a practical, workshop-friendly approach to designing, prototyping, detailing, and troubleshooting custom builds across common model types and scales.
Start with a Clear Concept (Without Overplanning)
A solid custom project starts with one clear intention, not a hundred scattered upgrades. Decide what the build needs to do: a display centerpiece, tabletop terrain, a diorama “moment,” a functional prototype, or a themed gift. Once the purpose is set, put guardrails in place early—target scale, footprint, durability (handled often vs. behind glass), and a realistic budget for consumables like blades, sandpaper, primer, and filler.
Collect 6–12 reference images that match the vibe and the engineering. Real vehicles, architecture photos, movie stills, and technical drawings help keep proportions consistent. Then choose a single “hero feature” to receive the highest concentration of detail—cockpit, façade, engine bay, interior lighting, weathering, or a dramatic pose. Finally, write a quick build brief: what materials you already own, 1–2 techniques to practice, and a finish deadline to prevent scope creep.
Materials and Tools That Make Custom Work Easier
Custom builds are easier when the material choices match the job. For crisp edges and panel work, styrene sheet and rod are hard to beat. Foam board and basswood are quick for architectural massing. Rigid insulation foam shines for terrain, while EVA foam is a go-to for larger prop-like forms. Resin parts and kitbash donor kits add complexity fast—especially when you’re harvesting hatches, vents, and mechanical shapes.
Match adhesives to materials. Plastic cement is ideal for styrene-to-styrene because it welds the joint. CA (super glue) is great for mixed materials and quick tacking, while epoxy is your friend for load-bearing joins and stress points. PVA works well for porous materials like paper and wood.
For clean results, prioritize measuring and layout tools: calipers, a metal ruler, a small square, circle templates, and a gridded cutting mat for repeatability. For shaping and cleanup, keep fresh hobby blades, sprue cutters, sanding sticks in multiple grits, needle files, and a pin vise for micro-drilling. Finish strong with a material-appropriate primer, masking tape in multiple widths, putty/filler, and a clear coat matched to the final sheen.
| Project type | Best base materials | Adhesive | Finishing tip |
|---|---|---|---|
| Vehicles/mecha kitbash | Styrene sheet + donor kit parts | Plastic cement + CA | Use primer to reveal seam lines before paint |
| Architecture/mini buildings | Foam board + basswood details | PVA + tacky glue | Seal foam edges before painting to prevent texture |
| Diorama bases/terrain | Rigid insulation foam + texture paste | PVA + hot glue (selectively) | Layer dirt/rock tones, then dry-brush highlights |
| Props and large forms | EVA foam + filler/skin coat | Contact cement | Heat-seal and prime to avoid spongy paint absorption |
| 3D-printed add-ons | Resin/PLA + styrene brackets | CA + epoxy (stress points) | Wet-sand and fill print lines before primer |
Planning Scale, Proportions, and Build Order
Scale impacts everything: available parts, believable weathering, and how much detail reads at arm’s length. Common “part-friendly” scales include 1/35, 1/48, 1/72, and 28–32mm for tabletop scenes, plus “hero scale” when the goal is pure presence on a shelf.
Practical Custom Project Ideas (That Teach Useful Skills)
Detailing Techniques That Add Realism Fast
Painting and Finishing: A Simple, Repeatable Workflow
If you’re working with fumes (especially from aerosols, CA glue, or solvent-based products), prioritize airflow and safe handling practices. Practical guidance on ventilation concepts is available from OSHA and broader indoor air considerations from the U.S. EPA.
Common Problems and Quick Fixes
A Handy Creative Companion for Custom Builds
A structured prompt-and-planning guide can keep custom projects moving from “cool idea” to a finished piece—especially when you’re juggling parts choices, subassemblies, and a consistent finishing plan. Build It Your Way and Watch Ideas Come Alive – Creative Guide for Model Builders | Practical Model Building Ideas for Custom Projects is designed to help define a theme, select kitbash parts, map build order, and choose finishing steps without getting stuck in endless revisions.
For builders who like checklists and quick resets between sessions, Feel Alive Again Checklist – Digital Download Self-Care Guide, Mindfulness eBook, Daily Wellness Routine, Mental Health Checklist, Quick Reset Practices can be a simple way to build steadier habits—useful when a long project needs consistency more than marathon sessions.
FAQ
What’s the best way to start a custom model build if skills are still developing?
Pick a small project with a single, clear goal (one vehicle, a small vignette, or one modular terrain tile). Block out the main shape first, limit yourself to 1–2 new techniques, and use primer as a checkpoint before committing to paint and heavy detailing.
Which adhesives should be used when mixing materials like styrene, resin, and wood?
Use plastic cement for styrene-to-styrene joints, CA for quick bonds across mixed materials, epoxy for stressed or load-bearing joins, and PVA for porous materials like wood and paper. For best strength, scuff slick surfaces, dry-fit first, and allow full cure time before sanding or painting.
How can paint and weathering look realistic without making the model look dirty?
Layer effects with restraint: subtle contrast, wear placed where hands, heat, friction, and airflow would actually affect the surface, and sealing between major stages when needed. Stop periodically to compare against references under neutral light so the finish stays “used” instead of uniformly grimy.


Leave a comment