Military Base DIY Book Nook: What It Is & What’s Included
What is the military base DIY book nook?
A military base DIY book nook is a miniature, build-it-yourself “scene” designed to slide between books on a shelf like a decorative bookend. Instead of depicting a cozy street or fantasy alley, this style recreates a base-inspired environment—think corridors, hangar-like structures, barracks details, tactical signage, or a checkpoint vibe—scaled down into a shadowbox-style insert.
Most kits are made from laser-cut wood pieces that you assemble into a layered diorama. The depth comes from stacked walls, floors, doors, crates, and tiny props, while optional LED lighting adds a dramatic glow that makes the scene pop when the room lights are low. Once finished, it functions as shelf decor and a conversation piece, adding a bold, structured look compared to softer, storybook-style nooks.
What typically comes in a military base book nook kit?
While contents vary by maker, many military base DIY book nook kits include pre-cut wooden panels, printed details (like warning labels or control panels), clear plastic for “windows,” and small accessories such as barrels, storage boxes, or railings. You’ll usually need basic supplies like glue, a craft knife, and sometimes batteries if lighting is included. Some versions also rely on paint or weathering techniques if you want a more realistic, worn-in finish.
How does it compare to other DIY book nooks?
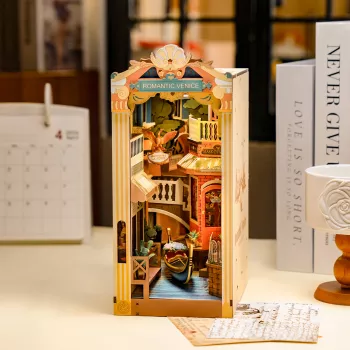
Military base designs lean into clean lines, industrial textures, and a more modern or tactical mood. If you prefer romantic, travel-inspired scenes with warm ambiance, you may enjoy a different style of shelf insert. For a contrasting example with a softer, atmospheric look, see this guide to a romantic Venice-inspired DIY book nook: https://favorella.com/guide-romantic-venice-book-nook-diy-wooden-shelf-insert/.
Who is it for?
This theme is popular with hobbyists who like model-building, military history or aesthetics, sci-fi and tactical set design, or simply want a book nook that feels sleek and high-contrast on a shelf. It can also make a standout gift for collectors who already have traditional miniature houses and want something with a different edge.
FAQ
What tools do I need to build a DIY book nook kit?
Most builds need craft glue, tweezers, and a small file or sandpaper for clean edges. A hobby knife and a cutting mat help with any delicate parts, and LEDs may require batteries and careful wire placement.














Leave a comment