Urban Sketching for Beginners: One Line at a Time
Sketching the City One Line at a Time: A Beginner-Friendly Urban Sketching Guide
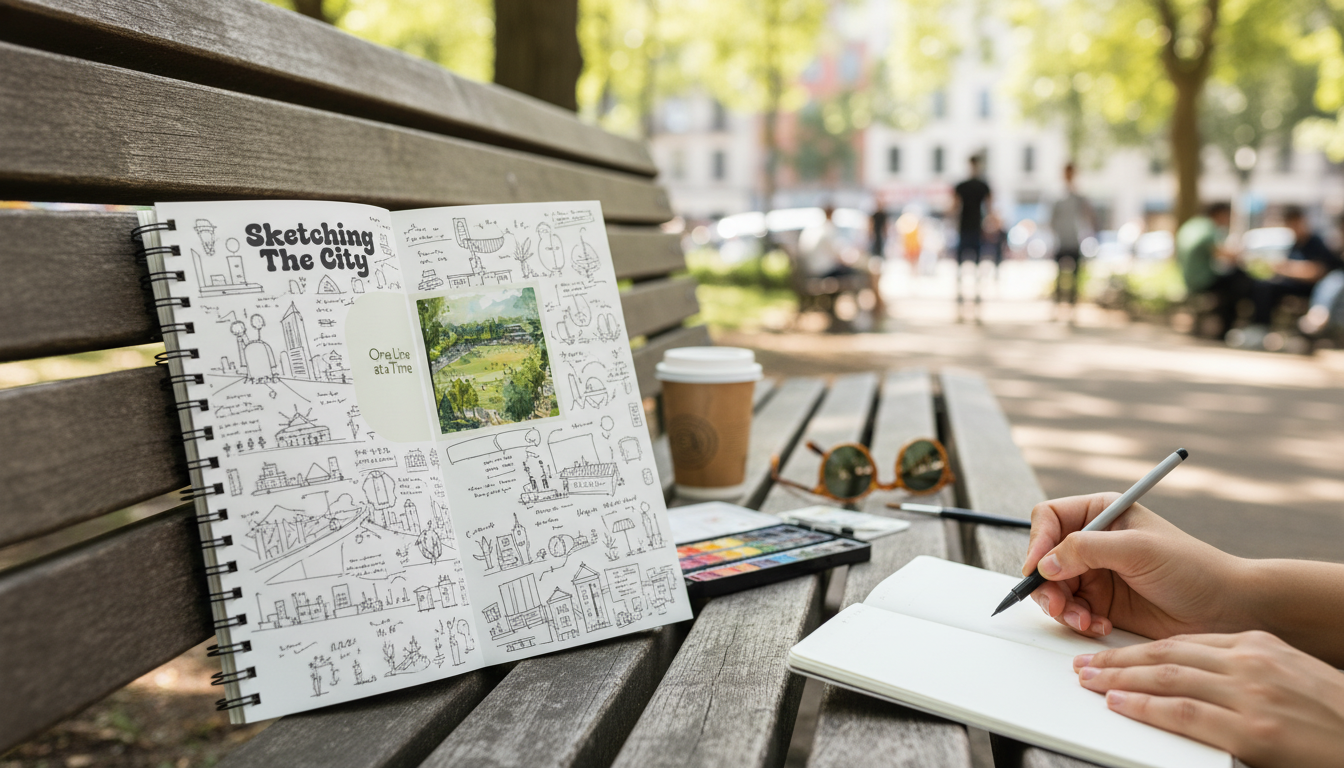
Urban sketching gets dramatically easier when it’s treated as a chain of small decisions instead of one perfect drawing. A “one-line at a time” mindset—building the scene step by step—reduces overwhelm, improves observation, and makes it far more likely you’ll actually finish a sketch on location. The goal isn’t to capture everything; it’s to make something readable, lively, and true to the moment. For more guidance, see Start Urban Sketching: A Practical Beginners Guide.
Below is a practical, repeatable approach: choose a simple subject, place a clear horizon, map big shapes, add confident lines, and finish with quick value and texture. If you want a guided, printable process you can bring outdoors, see Sketching the City One Line at a Time – Beginner-Friendly Urban Sketching Guide with Practical Urban Sketching Tips for Beginners. For further reading, see Urban Sketching Tutorial for Beginners (Free 10 minute Video Lesson).
What “one line at a time” really means
One-line sketching isn’t about drawing without lifting your pen. It’s about keeping your brain on the next helpful mark instead of spiraling into “Is this good?”
- Build in layers: big shapes first, details last. You can always add, but it’s hard to un-crowd a page.
- Treat each line as a decision: direction, length, and relationship to nearby shapes (parallel, converging, overlapping).
- Choose clarity over completeness: a readable sketch with missing details beats a detailed sketch that’s visually confusing.
- Use a “good enough to continue” rule: if the shape communicates, move on—especially in busy, changing environments.
A beginner’s urban sketching kit (simple, portable, reliable)
A starter kit should reduce friction: quick setup, minimal choices, tools that tolerate mistakes. For most beginners, portability matters as much as quality.
- Sketchbook: small (A6–A5) for quick starts; medium (A5–A4) for seated sessions.
- Pens/pencils: one mechanical pencil (HB), one fineliner, and one brush pen or marker.
- Optional color: a compact watercolor set or 2–3 gray markers for fast values.
- Extras that matter: binder clips, a small rag/tissue, and a lightweight seat if needed.
- Low-friction tools win: early improvement comes from volume, not precious materials.
Starter tools and what they’re best for
| Tool | Why it helps beginners | Quick tip |
|---|---|---|
| HB pencil or mechanical pencil | Easy corrections and light construction lines | Keep lines light until the big shapes feel right |
| Fineliner (0.3–0.5) | Clean, readable contours for buildings and street objects | Vary pressure slightly to avoid uniform “wire” lines |
| Brush pen or thicker liner | Fast emphasis and depth with a few bold accents | Use sparingly: corners, shadow edges, nearest objects |
| 2–3 gray markers or a small watercolor set | Quick value structure without heavy rendering | Block shadows as simple shapes first |
| Small sketchbook (A6–A5) | Less intimidating; encourages frequent practice | Aim for 10–20 minute sketches to build consistency |
Finding a sketchable scene in 60 seconds
Most “blank page” panic comes from trying to draw too much at once. Instead, hunt for a scene that wants to be simplified.
- Pick one anchor subject: a doorway, a corner building, a café table, a parked bike.
- Look for clear silhouettes and value: strong light/shadow patterns read well even with minimal line work.
- Choose an easy viewpoint: front-facing façades or gentle street angles are kinder than dramatic intersections.
- Frame aggressively: imagine a rectangle and crop out distractions; committing to the crop is half the sketch.
- Reduce to 3–5 big shapes: before drawing details, decide what the “large forms” are.
The 7-step on-location workflow (from blank page to finished sketch)
- Place the horizon line: decide your eye level (standing, seated, looking up). This is your stability.
- Block the biggest shapes: boxes for buildings, cylinders for poles, triangles for roofs.
- Establish perspective lightly: one-point for straight-on views; two-point for street corners. (A basic overview of perspective concepts is available via The Metropolitan Museum of Art — Perspective.)
- Draw contours with confident strokes: fewer, longer lines beat many short scratches.
- Add windows and repeats as patterns: suggest rows and rhythm rather than counting every pane.
- Drop in shadows and values: treat shadows as graphic shapes that explain form and depth.
- Finish with accents: a few darks, selective texture, and one focal detail to guide the eye.
Practical urban sketching tips that fix common beginner problems
People, cars, and street life without getting stuck
Quick exercises to build confidence (15 minutes a day)
Using the guide to stay consistent and actually finish sketches
- Run the same checklist: horizon → big shapes → contours → shadows → accents.
- Use a timer: 10 minutes for structure, 10 minutes for value, 5 minutes for accents.
- Define “done”: readable perspective, clear light direction, one focal point.
- Track small wins: finished pages matter more than occasional marathon sessions.
- Pair sketching with a calming routine: if starting feels hard, try a quick reset first with Feel Alive Again Checklist – Digital Download Self-Care Guide, Mindfulness eBook, Daily Wellness Routine, Mental Health Checklist, Quick Reset Practices.
FAQ
What should a beginner sketch first in a city scene?
Start with a single anchor subject like a doorway, corner building, café table, or parked bike. Commit to a simple crop, then add only the surrounding big shapes that support the anchor.
How long should an on-location urban sketch take for beginners?
Fifteen to thirty minutes is a practical sweet spot. Use a timer to split your sketch into structure, value, and a few accents, and stop once the scene reads clearly from arm’s length.
Do beginners need to learn strict perspective before urban sketching?
No—basic awareness of a horizon line and vanishing directions is enough to begin. Prioritize consistent angles and believable depth, then refine perspective knowledge gradually as you sketch more.


Leave a comment