Instagram Outfit Photos: A Simple Shoot Checklist
Picture-Perfect Outfit Photos: A Practical Instagram Checklist
Outfit posts perform best when styling, light, background, and camera settings work together. Use this checklist-style guide to plan the look, set up the shot, and capture consistent, polished outfit photos—without overcomplicating the process. For more guidance, see Vizcaya Photo Permits | Photography & Filming in Miami.
Start With a Clear Outfit Story
The easiest way to make an outfit photo look intentional is to decide what the post is “about” before you ever open the camera. That single decision cuts down styling clutter, reduces retakes, and makes your feed feel more consistent. For further reading, see Not Picture Perfect? Bounce Back from a Body Image Blow.
- Choose one “hero” piece (statement jacket, dress, shoes) and build the look around it to avoid visual clutter.
- Pick a simple color direction: monochrome, complementary colors, or one accent color that repeats (bag + shoes + jewelry).
- Confirm fit and proportions on camera: test full-length mirror angles and adjust hems, tucks, and sleeve styling.
- Decide the mood before shooting: casual street, minimal studio, cozy indoors, night-out, or sporty—then match accessories and location.
- Prep the outfit: lint roll, steam, wipe shoes, remove tags, and secure straps with fashion tape if needed.
Quick Outfit Photo Checklist (Before You Hit Record)
| Category | Check | Fast Fix |
|---|---|---|
| Clothes | Wrinkle-free and lint-free | Steam for 3–5 minutes; lint roll; spot-clean |
| Fit | No pulling or gaping on camera | Adjust underlayers; use clips; change sizing |
| Accessories | Intentional, not noisy | Remove one item; keep one focal accessory |
| Shoes | Clean and aligned to stance | Wipe; straighten laces; match sock height |
| Hair/Makeup | Matches the outfit mood | Simplify hair shape; blot shine; add lip tint |
| Phone/Camera | Lens clean; correct focal length | Wipe lens; switch to 1x/2x; avoid ultra-wide |
| Background | Not competing with the outfit | Move 2–3 steps; choose a plain wall or open shade |
Choose Lighting That Flatters Fabric and Skin
Great outfit photos are mostly great lighting. You want soft contrast so texture shows up, but not so much that shadows carve up your face or your clothes lose their true color.
- Aim for soft, directional light: open shade outdoors, window light indoors, or a diffused lamp setup.
- Avoid overhead indoor lighting that creates under-eye shadows and makes colors look dull or yellow.
- Use the “turn test”: rotate 45 degrees left and right until the outfit texture and facial features look most even.
- Watch for fabric shine: satin, leather, sequins, and dark denim can blow out highlights—step back from the light source or diffuse it with a sheer curtain.
- If shooting at night, use a continuous light or ring light and keep the background darker for separation.
If you want a quick refresher on lighting fundamentals, Adobe’s overview is a solid starting point: Adobe — Photography basics: lighting fundamentals.
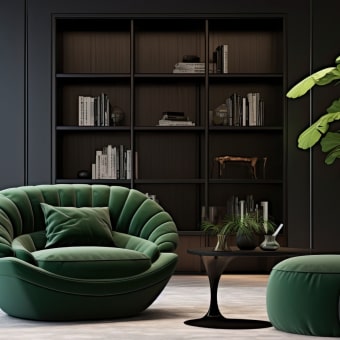
Pick Locations and Backgrounds That Make the Outfit Pop
Your background should support the outfit—not compete with it. A small shift left or right often makes the difference between “busy snapshot” and “clean fashion frame.”
- Choose backgrounds with clean lines: blank walls, building facades, staircases, fences, or minimal interiors.
- Create contrast: light outfit on darker background (or the reverse) so the silhouette reads instantly in the feed.
- Mind distractions at the edges: street signs, trash bins, busy patterns, and random objects behind the head.
- Use leading lines (hallways, sidewalks, rails) to draw attention toward the outfit.
- Keep the horizon straight for full-body shots; a tilted horizon can make proportions look off.
Camera Setup for Crisp Full-Body Outfit Photos
Phone cameras are strong enough for sharp, scroll-stopping outfit photos—if you keep distortion low and exposure consistent.
On iPhone, focus/exposure lock is built in—here’s Apple’s official walkthrough: Apple Support — Lock the camera focus and exposure on iPhone.
Posing and Movement: Make the Outfit Look Expensive and Natural
A Simple Shot List for Consistent Posts
Editing for True Color and a Cohesive Feed
If you’re troubleshooting softness or blur after shooting, Google’s help guide covers common fixes: Google Help — Improve photo quality and fix blurry photos (Google Photos).
Post-Ready Captions and Posting Rhythm
Printable Checklist Option for Faster Shoot Days
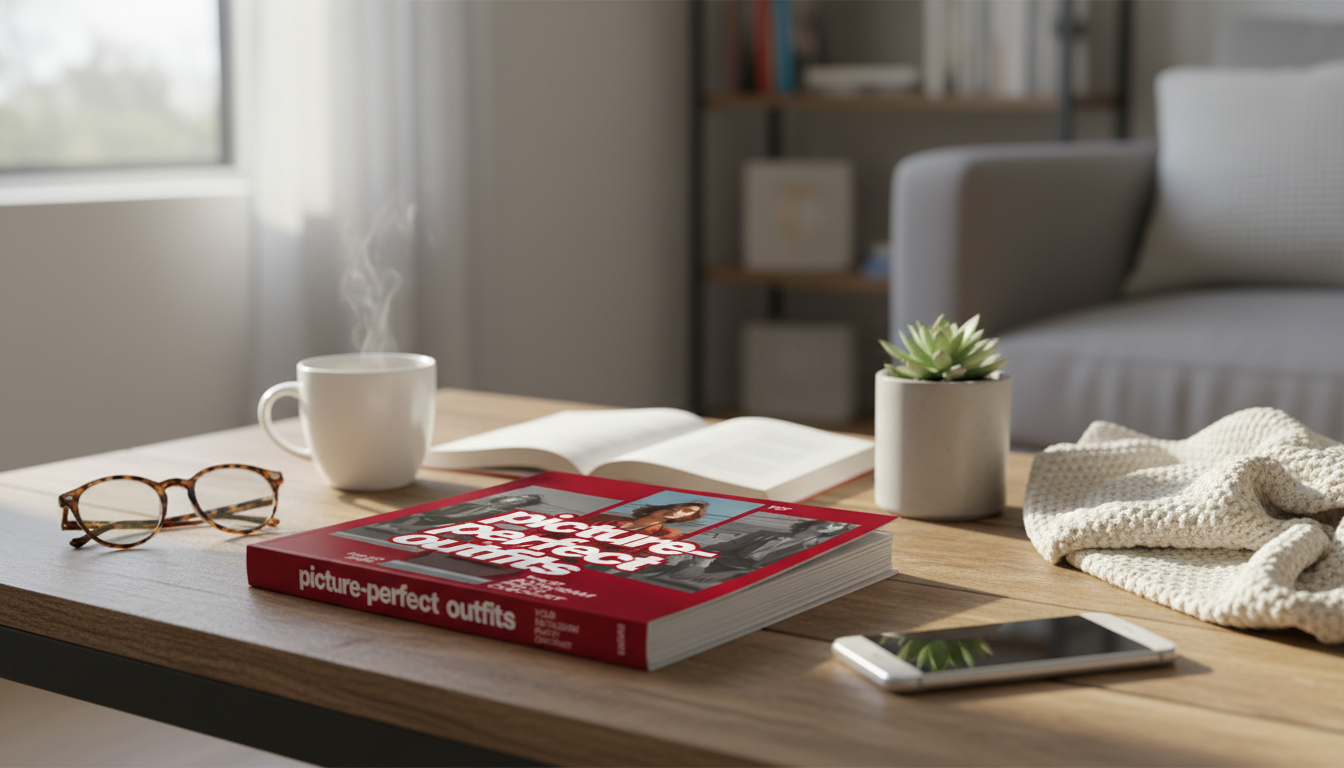
If you want an easy, ready-to-use version, try Picture-Perfect Outfits: Your Instagram Photo Checklist for a quick reference you can pull up before every session.
And if you’re building a consistent personal routine around content days (planning, mindset, and repeatable habits), Soulful Success Checklist: Your Step-by-Step Guide to Spiritual Goals can pair well with any “checklist-first” workflow.
FAQ
What camera settings work best for outfit photos on a phone?
Use the rear camera, stick to 1x–2x (avoid ultra-wide), turn on grid lines, and tap-and-hold to lock focus/exposure on the outfit. Use a timer or remote, and prioritize brighter light so the phone can keep ISO low and details crisp.
How can outfit photos look flattering without heavy editing?
Start with soft light (open shade or window light), a clean background, and a natural lens choice (often 2x for full-body). Then make minimal edits: correct white balance first and nudge exposure so skin tone and fabric texture stay realistic.
What’s the easiest way to get full-body shots when shooting alone?
Use a tripod with a timer or remote, mark your standing spot on the ground, and take one test frame to confirm focus and headroom. Then use burst mode (or repeated timer shots) while making small pose changes for quick variety.


Leave a comment