Furniture Upcycling Makeover Plan: Prep, Paint & Finish
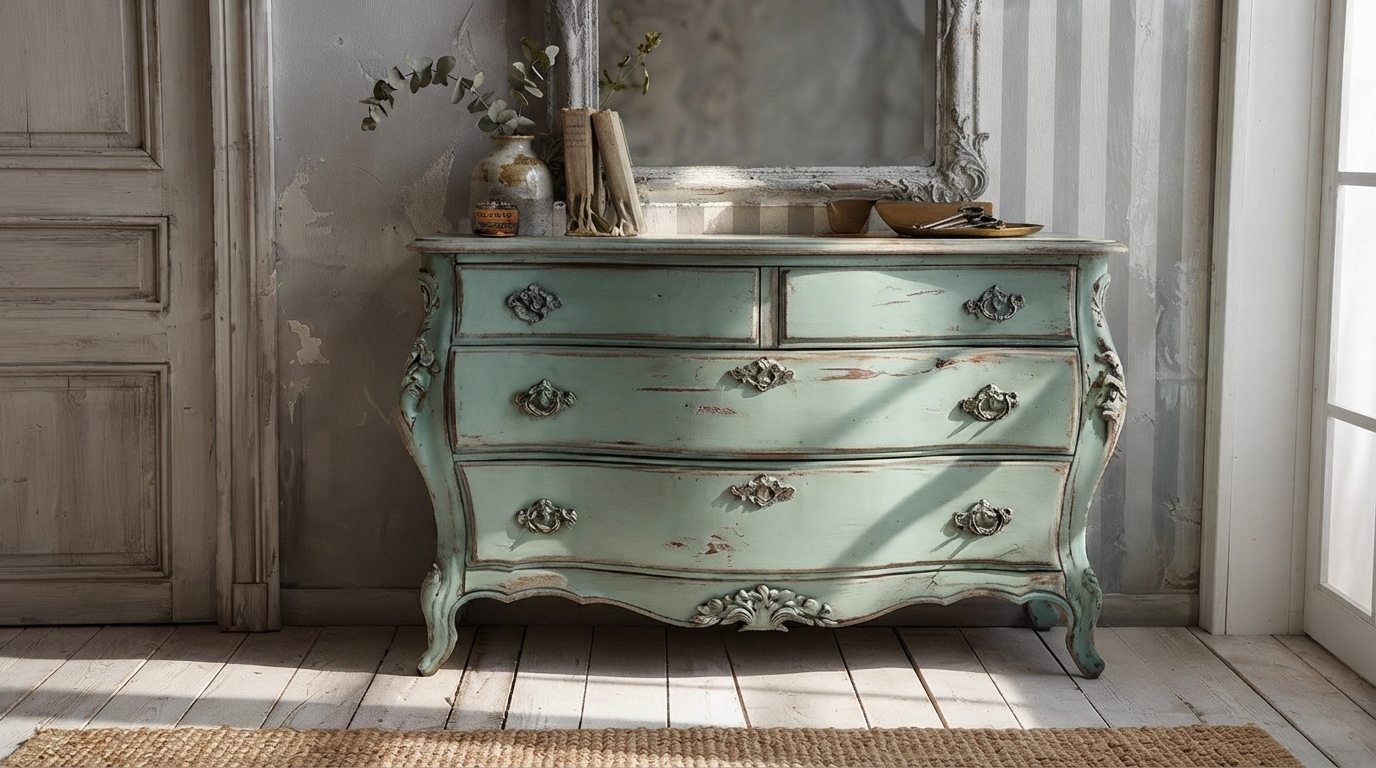
Turn Old Pieces Into Furniture You’ll Love Again: A Practical Upcycling Makeover Plan
Upcycling furniture is a smart way to refresh a space without buying new—while keeping sturdy, well-made pieces out of landfills. A makeover doesn’t require a full workshop; it needs a clear plan, a few dependable tools, and a finish that matches how the piece will be used. Use the steps below to turn tired furniture into functional, good-looking favorites with results that hold up to real life.
Start With a Piece Worth Saving
Before buying paint or pulling out a sander, choose a piece that can actually go the distance. Solid frames matter more than cosmetic flaws.
- Prioritize structure: sturdy legs, tight joints, and intact drawer boxes are better “bones” than perfect surfaces.
- Check trouble spots: wobble, water rings, peeling veneer, swollen particleboard, and musty odors can signal bigger repairs.
- Pick the goal early: restore (keep the original look), refresh (new finish), or transform (new function) so decisions don’t stall mid-project.
- Measure first: confirm the piece fits the intended spot—especially entry tables, nightstands, and dressers where inches matter.
- Match the method to your time: a paint refresh is quick; stripping, re-veneer, and major repairs take longer and require more patience.
Tools, Materials, and a Safe Setup
Most furniture makeovers can be done with a simple toolkit and a clean, ventilated workspace.
Core tools for most projects
- Screwdriver set, rubber mallet, wood glue
- Clamps (or a strap clamp for larger frames)
- Sandpaper (80/120/220), tack cloth
- A quality brush or foam roller for smooth coverage
Helpful upgrades
- Random orbital sander for faster, more even scuff-sanding
- Wood filler for dents and dings
- Respirator for sanding and solvent-based finishes
- Brad nailer (optional) for trim or quick paneling details
Set up for clean results (and fewer headaches)
- Use a drop cloth and create a drying zone where dust and pet hair won’t land on wet paint.
- Work with good ventilation and follow label directions on primers, paints, and topcoats.
- Wear gloves and eye protection; use a dust mask or respirator as needed.
- Dispose of oily rags safely—store them in a sealed metal container to reduce fire risk (see NFPA safety guidance: NFPA).
Quick guide to common finishes and where they work best
| Finish | Best for | Pros | Watch-outs |
|---|---|---|---|
| Water-based paint (acrylic/latex) | Dressers, side tables, shelves | Easy cleanup, low odor, many colors | Needs proper prep; can chip if not sealed on high-use surfaces |
| Chalk/mineral-style paint | Decorative pieces, vintage looks | Adheres well, matte finish | Often benefits from topcoat; can show marks without sealing |
| Oil-based paint/enamel | Cabinets, high-wear furniture | Hard, durable finish | Stronger odor/VOCs; longer dry time |
| Stain + polyurethane | Tabletops, wood-grain makeovers | Shows grain, durable when cured | Requires even sanding; longer cure time |
| Hardwax oil | Wood tops, desks | Natural feel, spot-repairable | Needs careful application; may require periodic maintenance |
Prep That Makes the Finish Last
Most “bad paint jobs” fail because of skipped prep, not because the paint was wrong. Build durability from the start.
- Clean first: degrease with mild degreaser or dish soap solution, rinse, and let it dry fully. For safer product options, the EPA’s guidance is a helpful reference: EPA Safer Choice.
- Remove and label hardware: bag screws and mark drawers so everything goes back exactly where it belongs.
- Fix structure before cosmetics: tighten joints, re-glue loose rails, and get drawer slides working smoothly.
- Sand with purpose: scuff-sand glossy finishes for adhesion; only sand down damage as needed.
- Prime smart: use stain-blocking primer for knots, tannins, and water marks; use bonding primer for laminate or slick factory finishes.
- Fill and level: apply wood filler, let it cure, then sand flush for a seamless surface.
If the piece might have old coatings (especially in older homes), learn the basics of lead paint safety before sanding or scraping (resource: National Park Service: Lead in Historic Paint).
Makeover Methods: Paint, Stain, or a Hybrid
Paint refresh (fast, flexible, beginner-friendly)
- Two thin coats beat one thick coat for smoother leveling and fewer drips.
- Respect dry time between coats; “dry to touch” isn’t the same as durable.
Stain makeover (for grain-forward results)
Hybrid updates (easy designer look)
Creative Upcycling Ideas That Change the Function
Hardware and Details That Elevate the Result
Avoid These Common Upcycling Mistakes
Step-by-Step Support for Confident Makeovers (Digital Download)
- Turn Old Pieces Into Furniture You’ll Love Again – Upcycling Furniture Guide (Download) organizes projects from assessment and prep through finishing details, so each step builds toward a cohesive result.
- Soulful Success Checklist: Your Step-by-Step Guide to Spiritual Goals (Printable Download) can also help with planning and follow-through if staying consistent is the hardest part of finishing DIY projects.
FAQ
Do old furniture pieces need to be sanded before painting?
Most pieces need at least a light scuff-sand to help primer and paint grip, especially if the existing finish is glossy. Full sanding is more important when the old finish is peeling, repairs are uneven, or you need to level filler; in some cases, a bonding primer can reduce how much sanding is required—but cleaning should still come first.
What finish is best for a tabletop that gets daily use?
For heavy daily wear, stain plus polyurethane is a reliable DIY option with good water and heat resistance once fully cured. Hardwax oil is another strong choice for a natural feel and easier spot repairs, but it may need periodic maintenance; whatever you choose, confirm compatibility by testing over your base finish.
How can a beginner avoid brush marks and chipping paint?
Use thin coats with a quality brush or foam roller, allow proper dry time, and lightly sand between coats for smoothness. Chipping is often prevented by thorough cleaning, the right primer, and adding a protective topcoat on high-wear surfaces like drawer fronts and tabletops.















Leave a comment