Dollhouse Making for Beginners: Mini Room & Furniture Guide
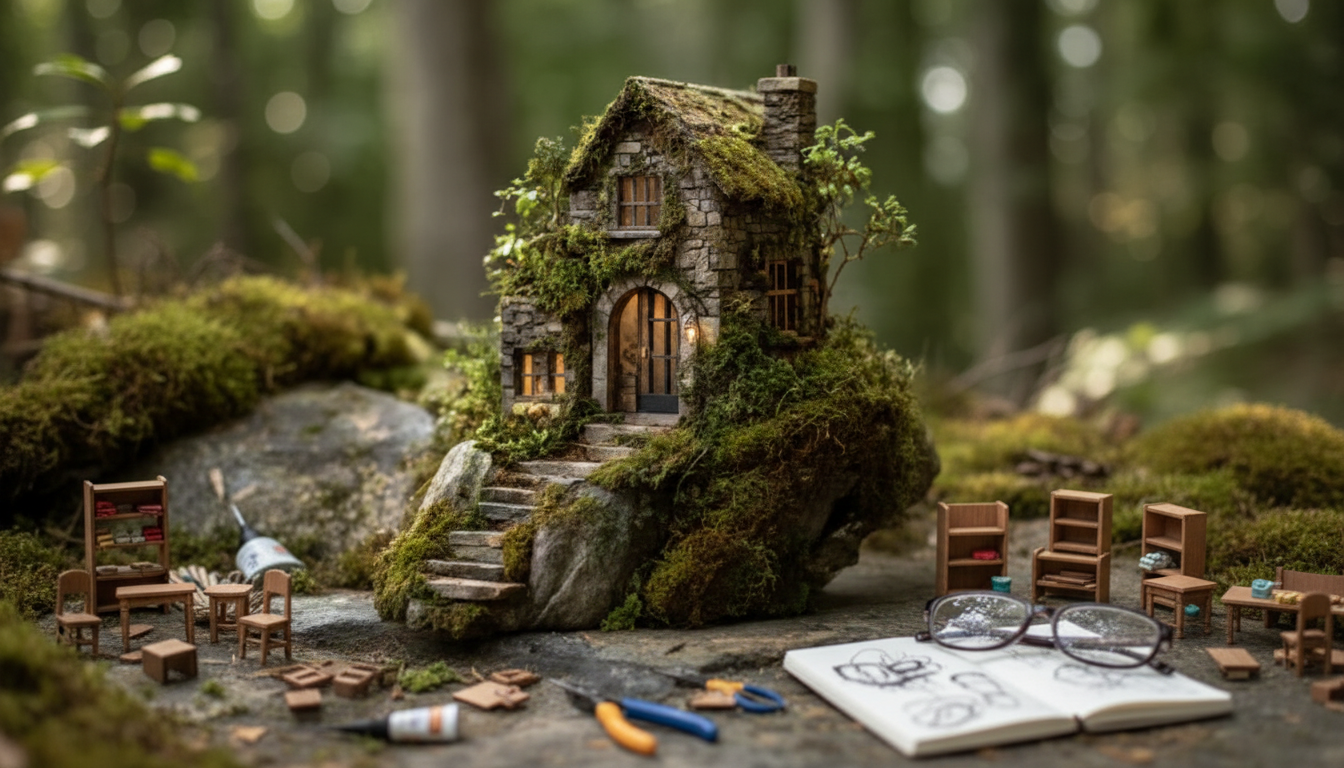
Miniature Magic with Dollhouse Making: A Beginner-Friendly Step-by-Step Mini Home Guide
Dollhouse making blends crafting, design, and storytelling into one relaxing hobby. With a few basic tools, simple materials, and clear steps, beginners can build charming miniature rooms and furniture at home—one small project at a time.
What Makes Dollhouse Making So Enjoyable for Beginners
Dollhouse miniatures are uniquely beginner-friendly because progress shows fast. A tiny chair, lamp, or rug can be finished in a single session, which keeps motivation high and helps skills grow naturally.
- Quick wins: Small projects often wrap up in an evening.
- Low barrier to entry: Many minis start with recycled packaging, cardstock, and craft sticks.
- Creative freedom: Mix modern, vintage, cottage, or fantasy styles without advanced woodworking.
- Skill-building: Measuring accuracy, patience, and fine-motor control improve with every build.
- Expandable hobby: Start with a room box, then grow into a full dollhouse over time.
Pick a Scale and Plan a Simple Mini Room
Choosing a scale early prevents the classic beginner problem: adorable furniture that doesn’t match the room. Common options include 1:12 (classic), 1:24 (compact), and 1:48 (micro). If you want easier handling and more forgiving cuts, 1:12 is typically the most comfortable starting point.
- Start with a “room story”: Pick the room type (kitchen, bedroom, study) and one focal piece (bed, stove, desk).
- Create a quick floor plan: Measure wall widths and ceiling height; decide door/window placement before decorating.
- Use real-world references: Pull photos of cozy corners, paint palettes, and fabric textures for guidance.
- Set a beginner scope: Aim for 3–5 items per room to keep the first build manageable.
For extra inspiration and historical context, browse miniatures features from Smithsonian Magazine or explore design details in museum collections like the Victoria and Albert Museum.
Starter Tools and Materials (Budget-Friendly and Easy to Find)
You don’t need a workshop to start making dollhouse miniatures. A sharp blade, reliable glue, and paint are often enough for clean, realistic results.
- Cutting essentials: Craft knife with fresh blades, small scissors, metal ruler, cutting mat
- Adhesives: Tacky glue for paper/wood, PVA for general builds, precision applicator for tiny parts
- Building materials: Basswood strips, foam board, chipboard, cardstock, thin acetate for “glass”
- Finishing supplies: Acrylic paint, fine brushes, sandpaper, clear matte sealer
- Mini hardware helpers: Tweezers, clips, toothpicks, pin vise for tiny holes
Tip for cleaner results: Dry-fit before gluing and label parts so tiny pieces don’t get mixed up.
Beginner Toolkit for Dollhouse Miniatures
| Item | Best For | Beginner Tip | Affordable Alternative |
|---|---|---|---|
| Craft knife + spare blades | Clean cuts in cardstock/wood | Change blades often to prevent tearing | Utility knife (light-duty) |
| Metal ruler | Straight, accurate cuts | Use with a cutting mat for safety | Any sturdy straightedge |
| Tacky glue / PVA | Furniture assembly, paper-to-wood | Apply with a toothpick for control | White school glue (slower dry) |
| Foam board / chipboard | Walls, floors, room boxes | Seal edges before painting | Recycled cardboard |
| Acrylic paint + fine brush | Color, aging, detail work | Thin paint in layers to avoid brush marks | Craft paint samples |
| Tweezers + clips | Handling tiny parts | Use clips as “mini clamps” while drying | Clothespins |
If you want a reliable place to learn the basics and repeatable build sequences at home, the Miniature Magic with Dollhouse Making step-by-step mini home guide is a convenient reference to keep open while you craft.
A Simple Step-by-Step First Project: Mini Side Table (No Power Tools)
A side table is a perfect first furniture build because it teaches straight cuts, square assembly, sanding, and paint—without complicated curves or hardware.
- Choose dimensions for your scale and sketch a tiny cut list (top, legs, apron/sides).
- Cut pieces from basswood or thick chipboard; sand edges lightly for crisp fits.
- Dry-fit the frame and mark alignment points so the legs stay square.
- Glue in stages: legs to apron first, then attach the tabletop after the base is solid.
- Fill tiny gaps (wood filler or glue + sanding dust), then sand smooth.
- Paint or stain: use thin layers; add a subtle wash for depth and realism.
- Seal and style: matte sealer, then add a mini book stack, plant, or lamp.
Creative Dollhouse Making Ideas That Look Detailed (Even When They’re Easy)
For project ideas and miniature tutorials across many styles, The Spruce Crafts is a helpful jumping-off point.
Avoid Common Beginner Mistakes (and Fix Them Fast)
Keeping the Hobby Comfortable: Lighting, Organization, and Safety
For a simple way to stay consistent with any creative routine (including mini-building sessions), the Soulful Success Checklist: Your Step-by-Step Guide to Spiritual Goals can be used as a printable planning companion for tracking projects and finishing what you start.
A Guided Way to Build Confidence From First Cut to Finished Room
A practical option for at-home learning is Miniature Magic with Dollhouse Making | Creative Dollhouse Making Ideas Ebook for Beginners & Hobbyists | Step-by-Step Mini Home Guide, designed to be revisited as skills grow.
FAQ
What is the best dollhouse scale for beginners?
1:12 is often the easiest because parts are larger, easier to grip, and more forgiving when cutting and sanding. If space and storage are limited, 1:24 can be a great compromise while still being beginner-friendly.
What materials are easiest to start with for dollhouse furniture?
Cardstock and chipboard are excellent for first builds because they’re inexpensive, easy to cut, and quick to glue. Once you’re comfortable with measuring and clean cuts, basswood is a simple upgrade—seal surfaces, dry-fit often, and use tacky glue for controlled assembly.
How long does it take to complete a beginner mini room?
A simple mini room typically takes a few evenings to a couple of weeks, depending on how many items you add and how long paint and glue need to dry. Keeping the first room to 3–5 pieces helps you finish faster and build confidence.















Leave a comment