Graffiti Kids Bike: Basket & Training Wheels Guide
Graffiti Kids Bike with Basket & Training Wheels: A Parent-Friendly Guide
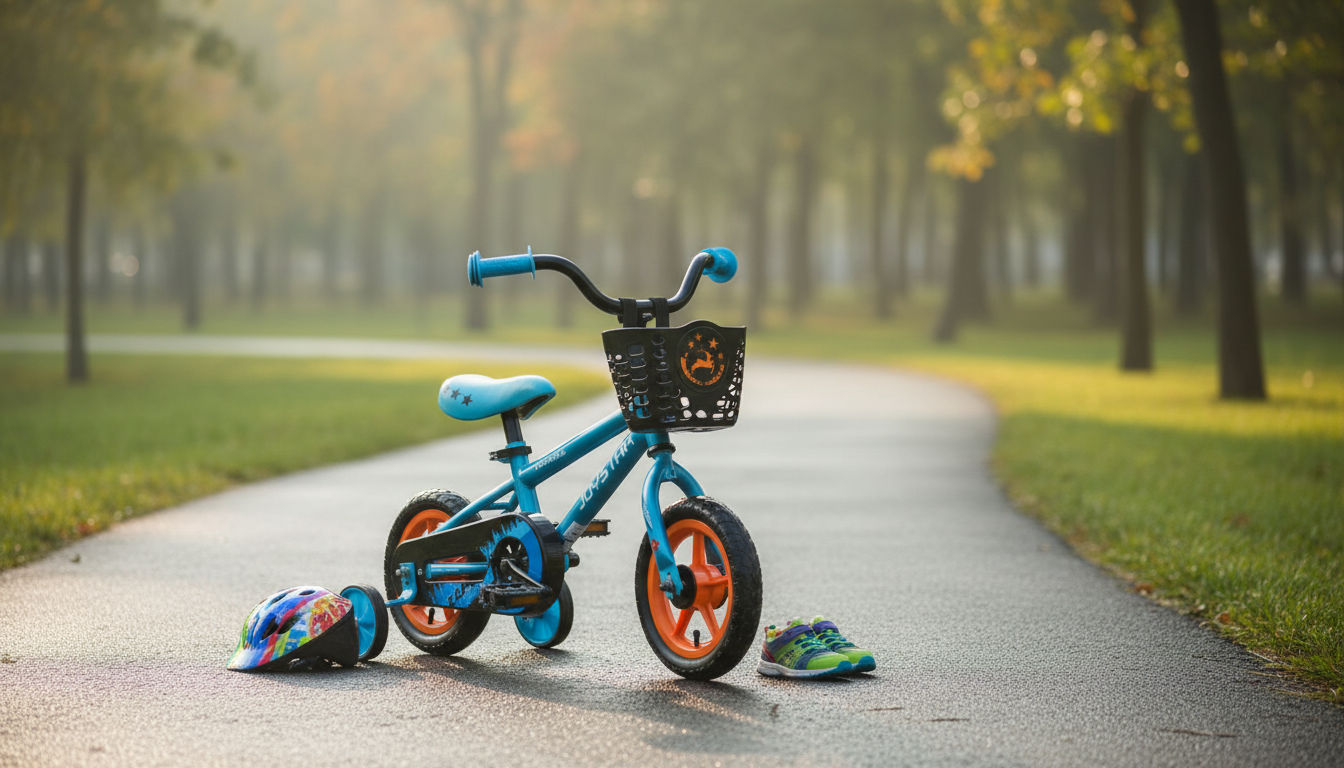
A kids’ bike should feel fun from the first ride while building confidence safely. This guide focuses on the practical details that matter most—fit, stability, comfort, and easy setup—so early driveway laps can turn into steady, independent neighborhood rides.
What Makes This Bike Great for First Rides
For many kids, the hardest part of learning to ride is getting comfortable with motion, steering, and stopping—all at the same time. A beginner-friendly bike helps reduce the “wobble stress” so practice stays positive.
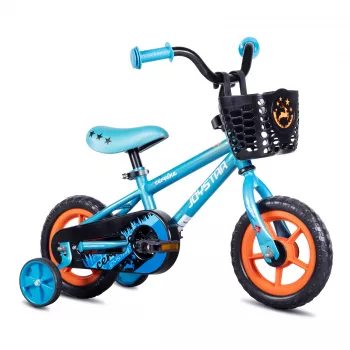
- Training wheels for early stability: They help kids practice pedaling and steering without constant tip-overs, especially during starts and slow-speed turns.
- A front basket for everyday motivation: Carrying a water bottle, small toy, or a light jacket can make rides feel like a real activity, not just a lesson.
- Kid-focused geometry: An upright posture supports better control and makes it easier for kids to look ahead (instead of down at the front wheel).
- Playful graffiti-style design: When a bike looks exciting, kids are more likely to ask to ride it—and practice adds up fast.
Shop In-Stock Picks
If you’re ready to choose, these items are currently available:
Fit and Comfort Checklist Before Buying
Even a great-looking bike can feel frustrating if it doesn’t fit. A solid fit helps kids start smoothly, stop safely, and steer without overcorrecting.
- Standover space: When standing over the top tube, there should be comfortable clearance so stops feel safe.
- Seat height: With the saddle set correctly, a slight knee bend at the bottom of the pedal stroke supports smoother pedaling.
- Reach to handlebars: Arms should be relaxed (not locked). If a child is reaching too far, steering gets twitchy and tiring.
- Weight and handling: Lighter-feeling bikes are easier for kids to start, stop, and recover from wobbles.
- Shoes matter: Closed-toe sneakers with good grip reduce pedal slips and help during stop-and-go practice.
Quick Fit Check at Home
| Check | What to look for | Why it helps |
|---|---|---|
| Standover | Comfortable clearance while standing over the bike | Reduces fear at stops and starts |
| Saddle height | Slight knee bend at the bottom of the pedal stroke | Improves comfort and pedaling efficiency |
| Handlebar reach | Elbows slightly bent, relaxed shoulders | Better steering control and balance |
| Brake access | Hands can fully wrap the grips and reach brake levers | Safer, more confident stopping |
| Start/stop practice | Child can place at least one foot flat when stopped | Easier launches and fewer tip-overs |
Training Wheels: Setup Tips and When to Raise Them
Training wheels work best as a temporary confidence booster—not a permanent crutch. A few small adjustments can make them feel natural and help kids progress faster.
- Install evenly: Training wheels should be symmetrical so the bike doesn’t pull to one side.
- Start with light support: Set them so the main tires still carry most of the weight; kids learn balance sooner when the bike can lean slightly.
- Gradually raise them: As confidence grows, increase clearance so the child practices leaning and steering naturally.
- Practice turns early: Gentle curves teach weight shift. Use a wide, flat area at first so kids can focus on steering.
- Plan the transition: Once a child can start, pedal, steer, and stop confidently, begin short sessions without training wheels (if the bike design allows).
Safety Essentials for Everyday Riding
Comfort builds confidence, but safety builds consistency—because fewer spills and scares means kids want to keep riding.
- Helmet fit: Keep it level and low on the forehead, with snug straps forming a “V” under the ears and no rocking. For helmet guidance, see CPSC Bicycle Helmets.
- Be visible: Bright clothing and daytime riding make it easier for drivers and other riders to spot kids quickly.
- Footwear and clothing: Avoid loose laces and flowy clothing that can catch in the chain or wheels.
- Close supervision at first: Early rides should be monitored closely—especially near driveways, slopes, and intersections.
- Choose the right route: Start on smooth pavement away from traffic; skip gravel until steering and braking are reliable. The American Academy of Pediatrics bicycle safety guidance is a helpful reference for family riding rules.
Assembly and First-Ride Setup
A quick pre-ride setup prevents most “first day” frustrations like hard pedaling, squeaky brakes, or wobbly handlebars.
- Tire check: Inflate tires to the recommended pressure listed on the sidewall for easier pedaling and steadier handling.
- Brake test: Confirm brakes engage smoothly without the lever hitting the handlebar.
- Handlebar alignment: Straighten bars with the front wheel and tighten bolts so nothing slips mid-ride.
- Saddle position: Set the seat so the child can start and stop comfortably; re-check after the first few rides.
- Basket attachment: Make sure it’s secure and doesn’t interfere with cables or the front wheel.
- Final bolt check: Re-tighten key fasteners after a few short rides as parts settle into place.
Care and Maintenance That Keeps Rides Smooth
Kids’ bikes take a lot of curb bumps, sudden stops, and occasional tip-overs. A simple routine keeps riding smoother and extends the bike’s life.
Is This the Right Choice?
FAQ
How tight should training wheels be?
They should be secure with no wobble, mounted evenly on both sides, and set so the bike can still lean slightly during turns. Re-check tightness after the first few rides since bolts can settle.
What can go in the front basket safely?
Stick to light items like a small toy, water bottle, or snacks. Avoid heavy or dangling objects that could shift, bounce out, or make steering feel unstable.
How often should a kids’ bike be checked for safety?
Do a quick weekly check of tires, brakes, and bolts, plus a more thorough inspection monthly or after any crash, curb hit, or rough ride.


Leave a comment